Camera on the Birdfeeder – Setting Up
/I posted some initial results of our bird feeder camera back in December. This post is a little more about our experience…now that we’ve settled on a configuration. The camera we are using is a Reolink Argus 2. In December, we were experimenting by using a ladder to temporarily mount it; our goal was to decide where to mount the camera and the best settings.

Our first attempt at more permanent mounting (and one that would not show in the pictures like the ladder did) was on a bracket just below the eave of the covered deck. We discovered almost immediately that the bracket was not as stable as we had thought it would be; a breeze could cause the camera to move. So – we started thinking through alternatives.
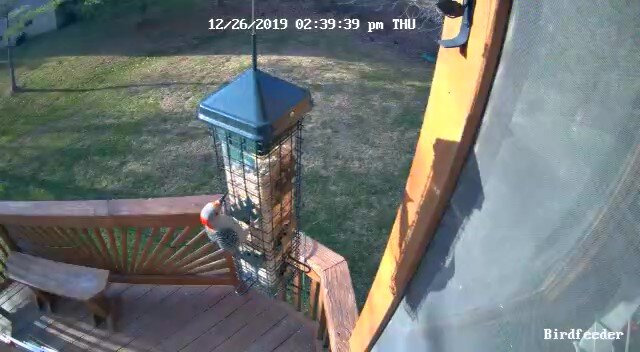
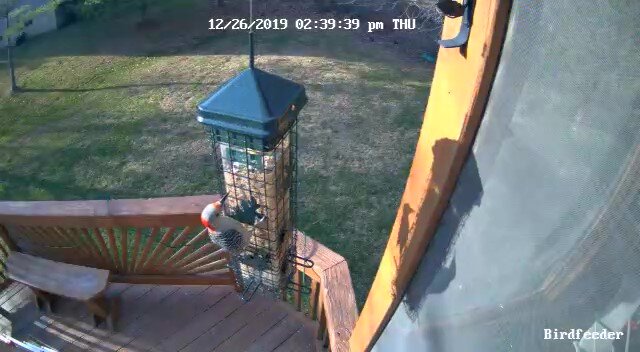
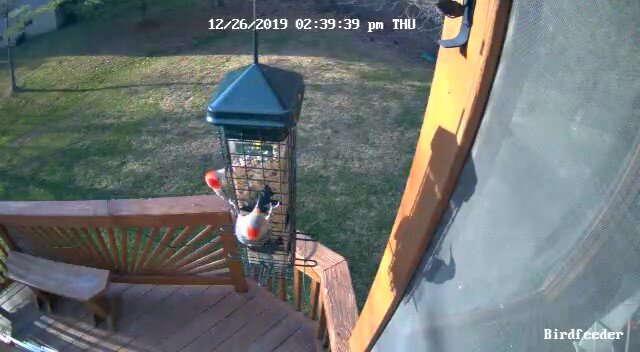
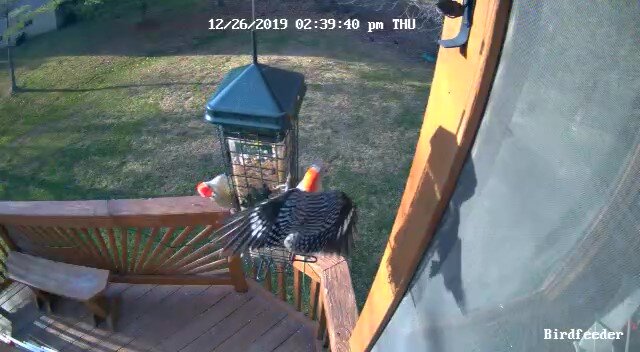
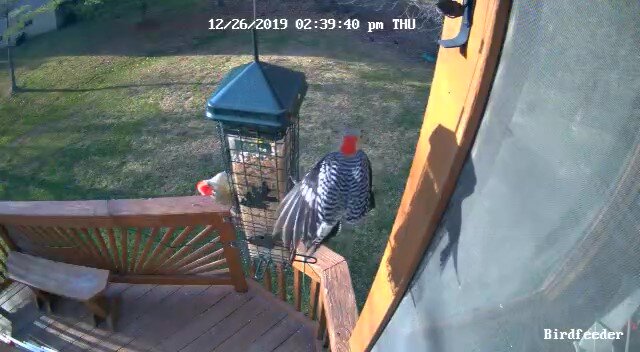
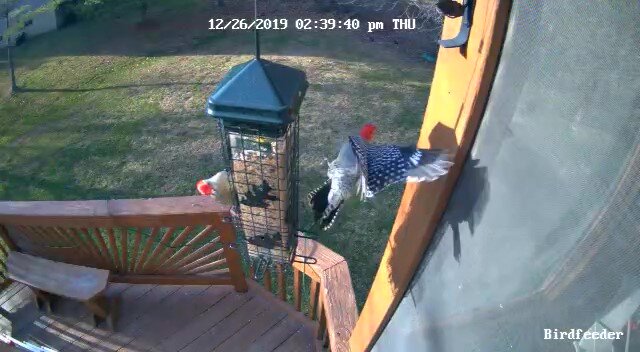
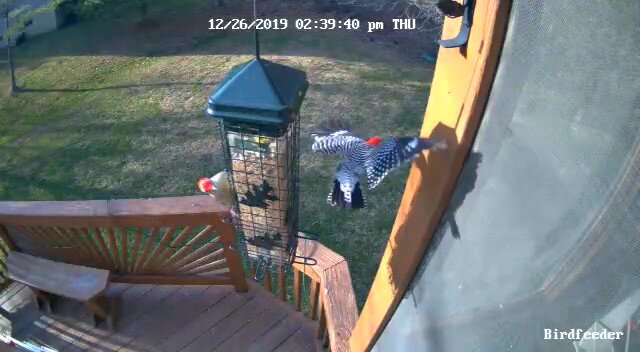
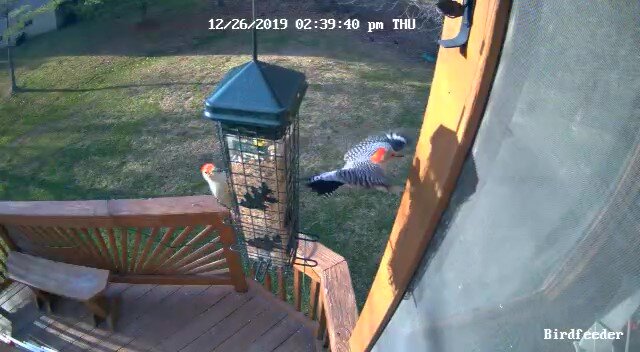
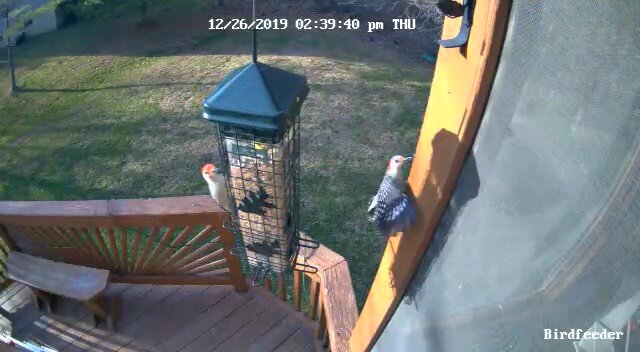
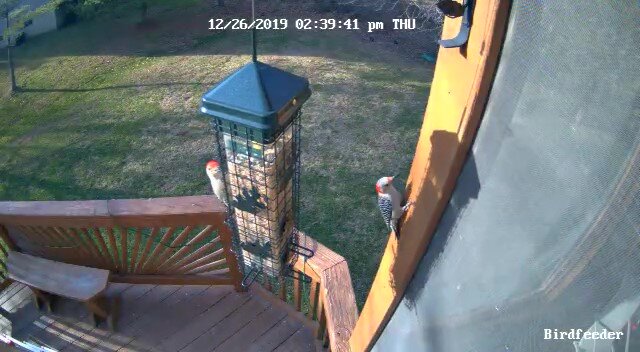
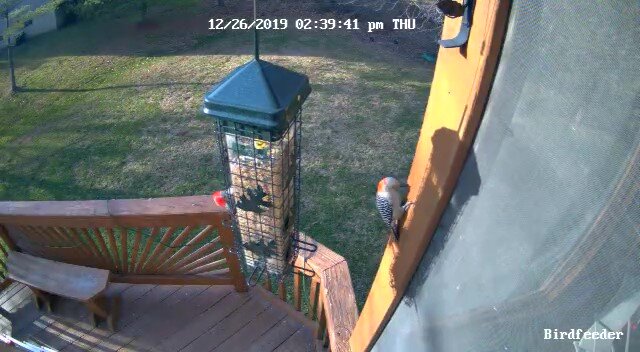
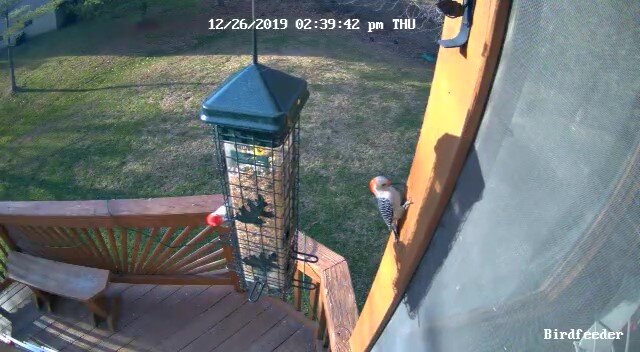
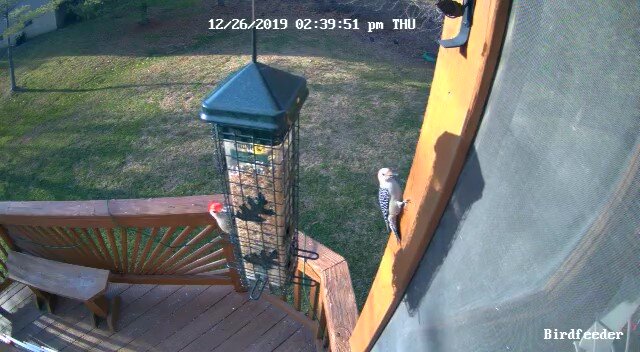
Even with a wobbly camera, we did capture a good sequence of a male and female red-bellied woodpecker interaction at the feeder (the male is the one that has red from front of his head all the way back to where the black and white feathers begin). The female was there first but flew to the support for the covered deck when the male arrived – pecking the wood (in frustration?) then flying off.


Our next mounting scheme was to mount a board to the supports for the covered deck and then the camera with its solar panel on the borad. So far it is working well. We’ve been tweaking some settings. I’ll post some results in a few days.

I use the Reolink Client on my PC to view the videos captured by the camera. I download the ones I want to clip for my blog – either as single images or a sequence of images. It’s been a lot of fun to watch the antics of birds that I didn’t catch from my office window. So far, we haven’t had any unexpected visitors…but I am enjoying the views of behaviors I would not have seen otherwise.