Hike from Mt. Pleasant to the Patapsco River – Part 2

Continuing from yesterday’s post….into the forest we go! The first stretch was down a tree covered slope with lots of leaf litter to a paved road that had a few houses at its end. We were just crossing the road. I paused long enough to take an upward picture of the canopy. We continued downhill to join a trail in Patapsco Valley State Park.

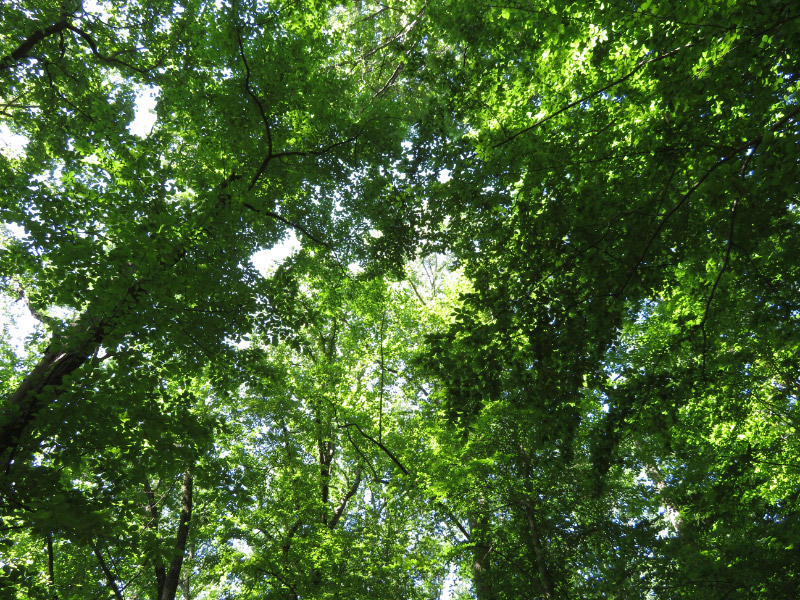
We saw two box turtles along the hike. The first one was in better shape than the second (note the elongated holes in the top of it). The growth rings on the scutes provide an estimate of the age of turtle; the first one is probably younger than the second one.

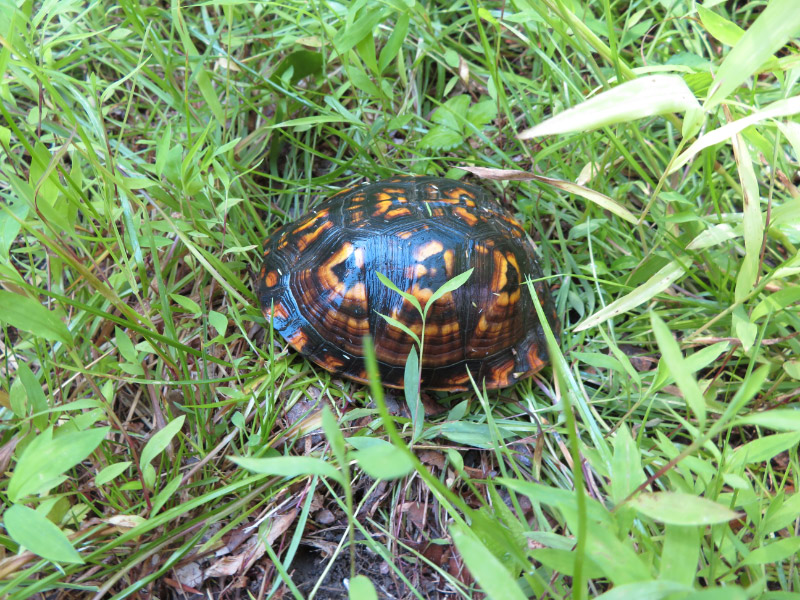
There were a lot of invasives carpeting the floor of the forest: wavy leaf basket grass with its crimped leaves and Japanese stiltgrass being the most numerous.

I celebrated when I saw native plants like jack-in-the-pulpits, mayapples or skunk cabbage…but there weren’t many of them. They are easily crowded out by the invasives.

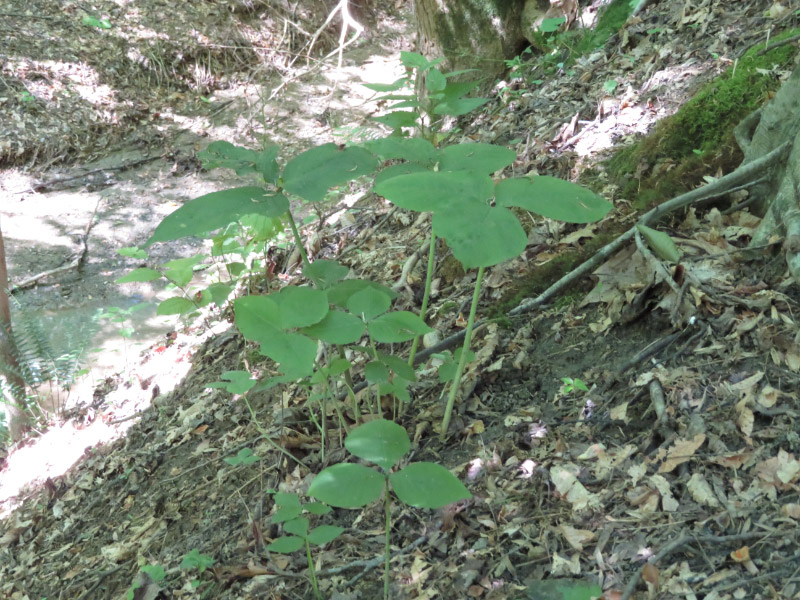
We followed a stream down to the culvert under the railroad tracks that brings it to the Patapsco River.

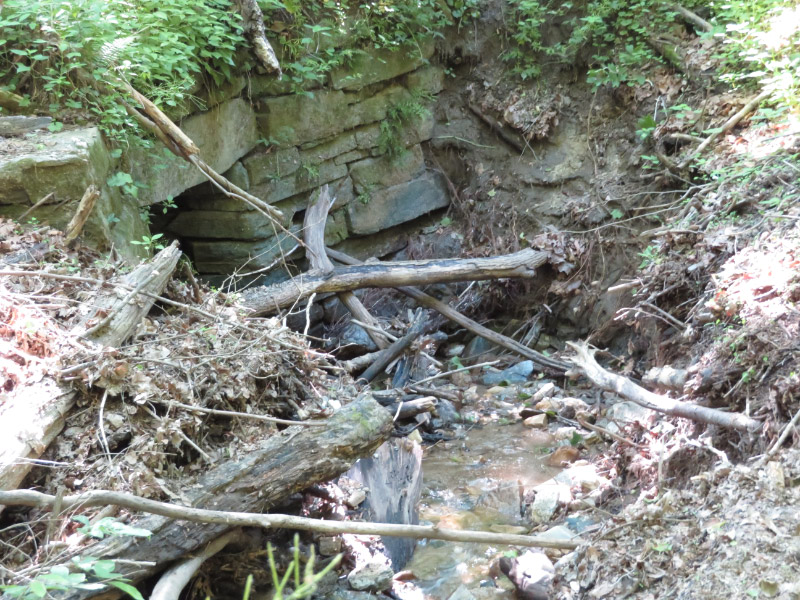
Inside a small hollow log, a fishing spider waited patiently for its lunch.

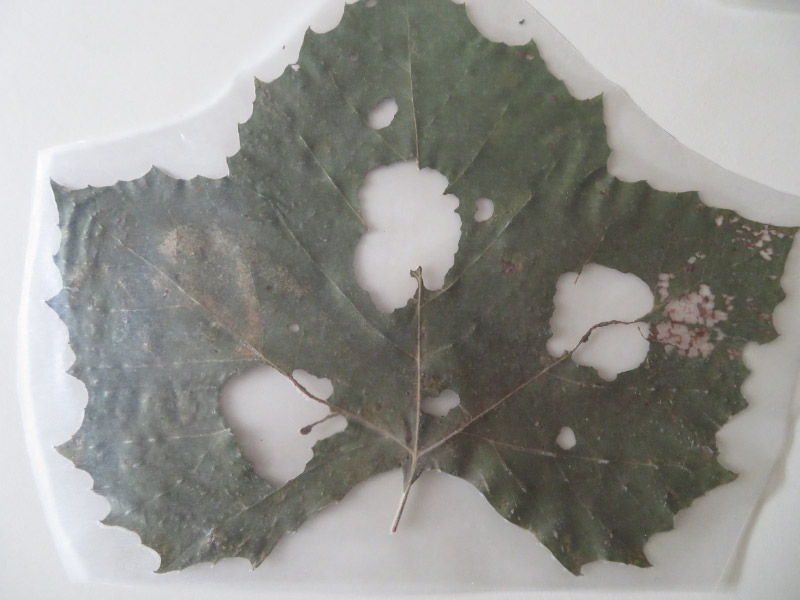
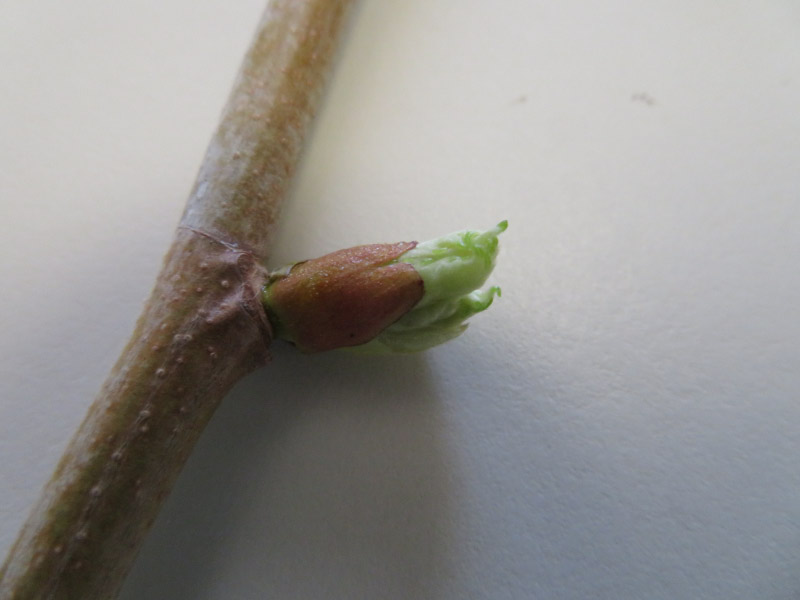
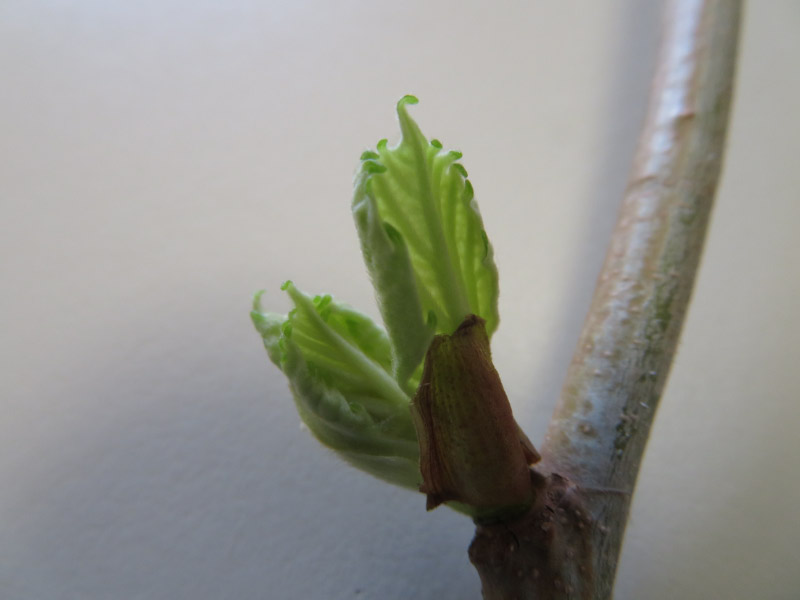
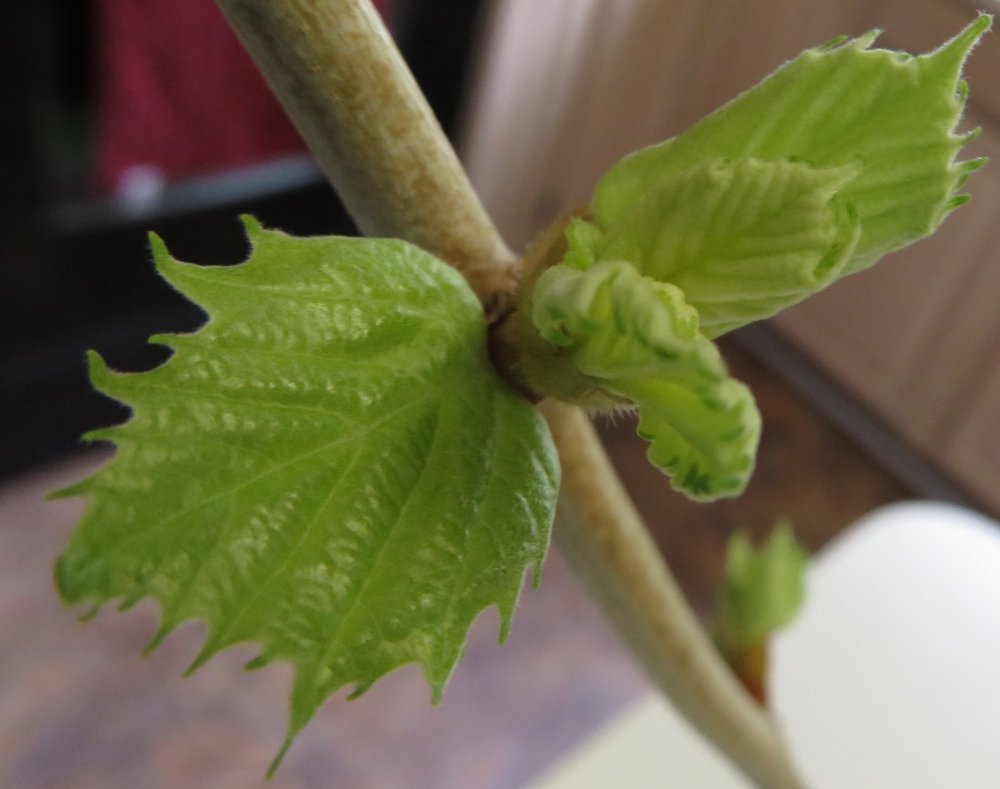
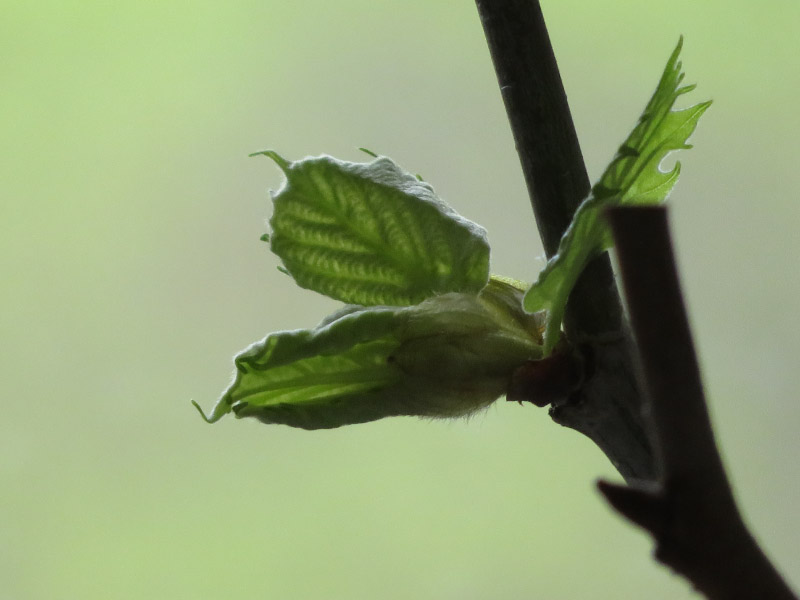
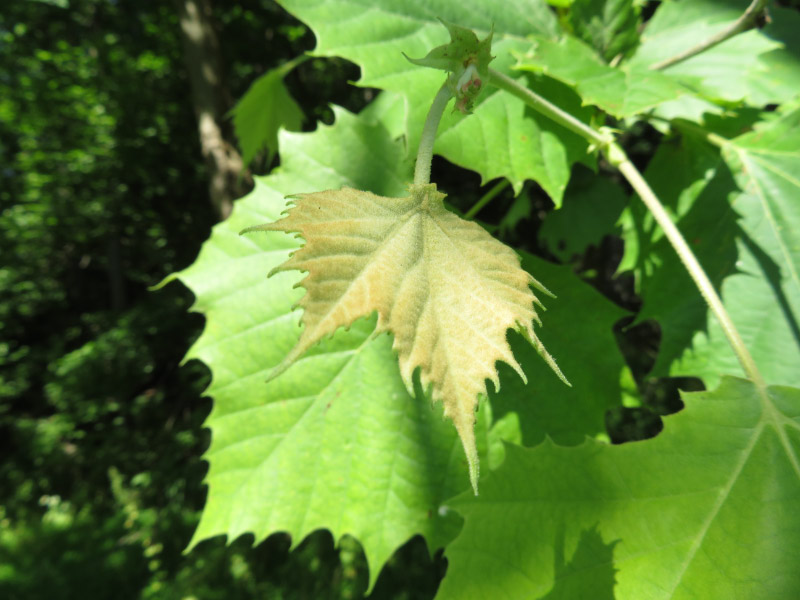
There are many large sycamores. I took pictures of a leaf newly fallen into the stream and a new leaf on a low branch near the river. The trees are too large to try to photograph in their entirety!

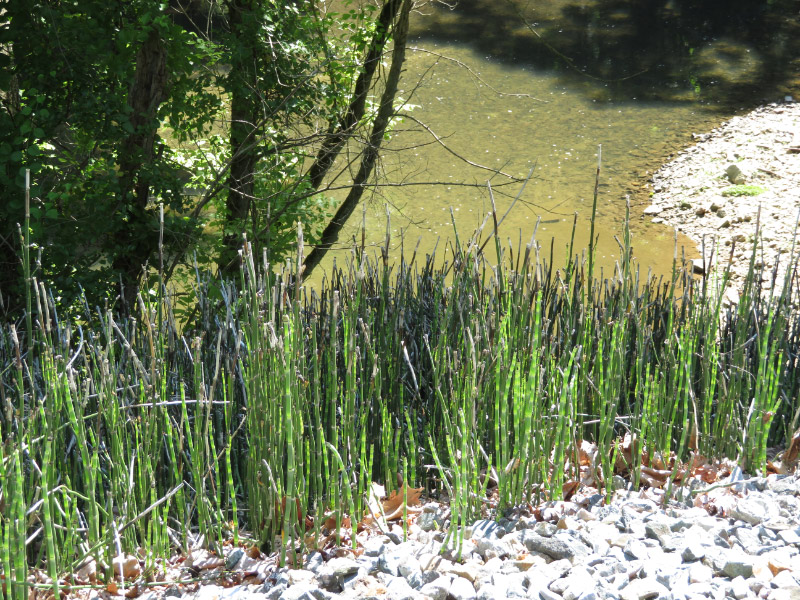
We clamored up the railroad embankment and stood on two tracks to see the river below. There were horsetails (vascular plants that reproduce by spores) growing on the bank by the river.

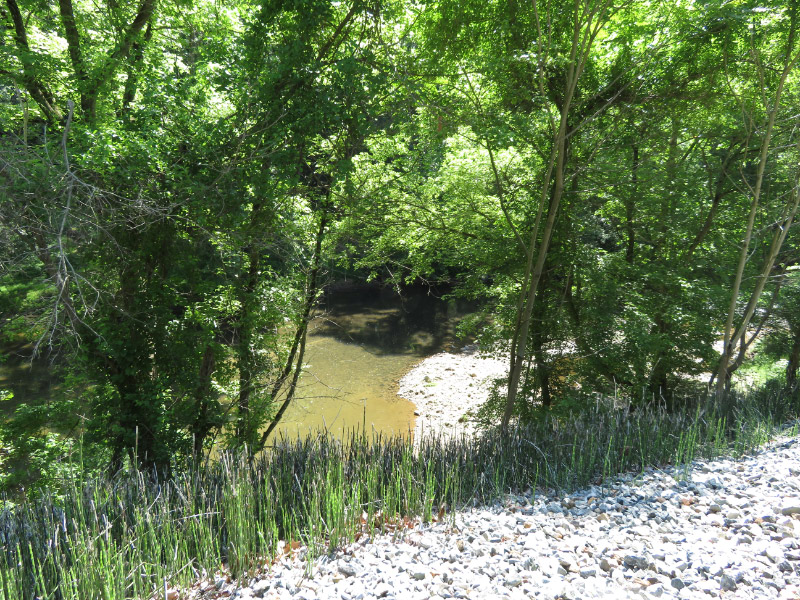
We didn’t stay long at the river; the bank was too steep to climb down and no one wanted to stand on the active rail road track for long. We headed back uphill to Mt. Pleasant. The line of 30 people elongated as we all set our own pace – going silent in the steeper sections. The day had warmed. By the time I got up the hills, I’d finished the water I carried and headed into the nature center to get more!

Zooming – May 2017

I used the zoom on my camera so much in May that almost every picture was a candidate for this post. I picked some images that were no previously included in posts for the slide show below:

  • A fly perched on a tiny yellow flower covered in water droplets
  • New leaves at the tips of the maple branch – and a fly that I didn’t see until I looked at the picture on a big screen
  • A butterfly head and shoulders…the zoom is enough that the individual yellow scales show in the darker part of the wing.
  • New leaves on the sycamore. The size variation of sycamore leaves is very large: small fingernail to dinner plate.
  • A resting butterfly
  • Peonies: flower and bud
  • An insect that looks like dried leaves
  • A monarch caterpillar
  • A butterfly – again the individual scales can be detected as ‘powder’ over the darker markings
  • A chipping sparrow making a mess at the feeder
  • A butterfly wing collage

Enjoy!

Preserving Spring

When I used twigs to show pre-schoolers about how the tree buds and seeds looked during the spring…it occurred to me that it would be good to have those items to show for more than just the early spring. I decided to enclose some of them in clear contact paper. Maybe the plastic would seal off enough air to keep the plant material from deteriorating…and it would not require the heat of a laminator. The red maple samaras were my first experiment. The seed part of the wings bulge a bit, causing a little bubble. As I looked more closely after I’d finished encasing them front and back with the contact paper, I realize there are still remnants of the flower (red) where the seed is connected to the small stem.

My next attempt was with sycamore leaves that had unfurled from the branch I put in water after I cut it when it has enlarged buds.  I got several sizes of leaves from the buds that split open and have leaves unfurling now (see my previous post about from a few days ago).  The smallest ones are the size of a finger nail. The clear contact paper on both sides makes it possible to view both sides of the little leaves and to notice that one is still curled – not quite unfurled from how it was packaged in the bud.

I had some sycamore leaves from last summer that I had pressed in a book. I used the contact paper with them too. They are very dry and fragile at this point but the contact paper may stabilize them. The leaves are the size of my hand or larger. One of the them had lots of holes in it….so would be good to reinforce that trees are food and home for other creatures.

Next time I am a volunteer naturalist talking about trees….I’ll see if they survive!

Sycamore Buds

I cut some small sycamore branches from tree at home to show the pre-K field trip groups. When it cut the branches, they only had buds – no leaves - and that’s what the children saw. I decided to put them in water when I got home to see what would happen. The buds split and tiny leaves began to emerge about a week after the field trips!

Once they started, progress was rapid. The pictures below were taken 2 days after the earlier ones. The leaves are curled at first but quickly flatten out and begin to look like sycamore leaves.

The branches have been indoors and are not ahead of the rest of the tree. We’ve some cool nights here in Maryland and the buds on the tree are just now popping open --- at least 5 days behind my branches inside.

I also put the maple branches that I cut in water and the samaras have continued to develop but the leaf buds are still very tight.

My next project is going to be encasing some of these small leaves and seeds in clear contact paper. Hopefully it will preserve them enough that we can use them with field trips later this month and into May.